As an Amazon Associate, I may earn commissions from qualifying purchases from Amazon.com
Pretending to be Robin Hood in the forest with a bow and quiver or Indians on the Plains, a bow and arrow can bring delight to every child. We have had our share of plastic suction cup arrows in our house and now the boys have real bows and backyard targets.
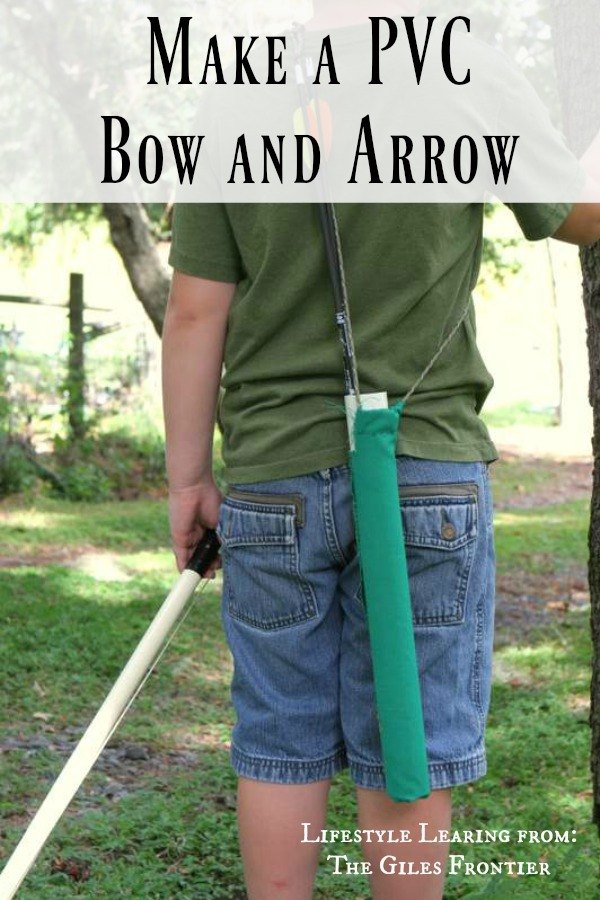
Along the way, Grant was inspired to make his own bow and quiver when he was around seven. He came up with a design that would be a great handicraft for your kids to make next time they want to target practice.
Supplies:
a piece of PVC pipe that is 16 inches long and with a 1.5 to 2-inch diameter. This is for the quiver.
a piece of PVC pipe that is about 3 feet long. Add a few inches if your child is more than 4.5 feet tall. This PVC is bendable. It comes with a blue stripe down the length at the local home improvement store. It should be about 1/2 inch diameter. This is for the bow.
a piece of paracord or rope at least 20 inches long.
A piece of marine twine or bank line. You will need 5 feet to be safe.
A fabric of choice that is at least 20 inches by 8 inches.
Duck tape or electrical tape.
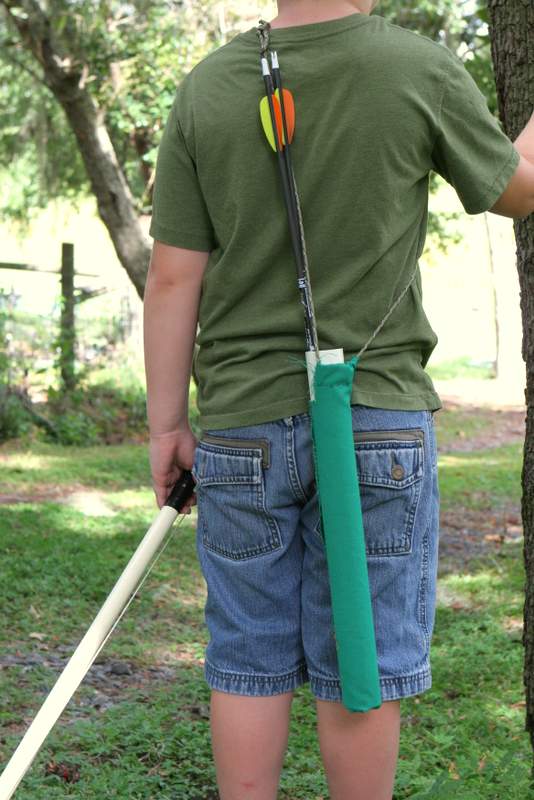
Quiver
First, cut the PVC pipe. If you have tools at home to do this have the kids measure and mark the pipe for cutting. A home improvement store can also cut the pipe for you. Next, there are a few options for making the strap and covering one end of the pipe.
Option one: Cut two circles of duct tape the diameter of the pipe. Put them together with sticky sides facing in. Next, place the circle on one end and use two more pieces of duct tape to make a cross across the bottom to keep the circle in place.Then, use one piece of duct tape, enough to go around the top of the pipe. Tape one end of the rope or paracord to the top of the pipe.Do the same at the other end of the pipe with the remaining end of the rope. The rope should span from one end of the pipe to the other. This is the strap to go over the shoulder.
Option two: Sew a cover over the pipe. This will cover the pipe and the open end so the arrows will stay inside. Grant chose to sew with a leftover piece of fabric. Hand sewing with a larger needle was easier for him and he did large stitches. He sewed it in place on the pipe, but that was a little tricky! Measuring is always a good option. First, lay the rope over the short end of the fabric. Fold over about a half inch, enough where the rope still slides. Sew on the fold. Then, sew down the length and close up the other end. This project does not have to be perfect. Rough edges were the goal for Grant and his rustic style quiver. Slip the cover over the pipe and it is ready for arrows!
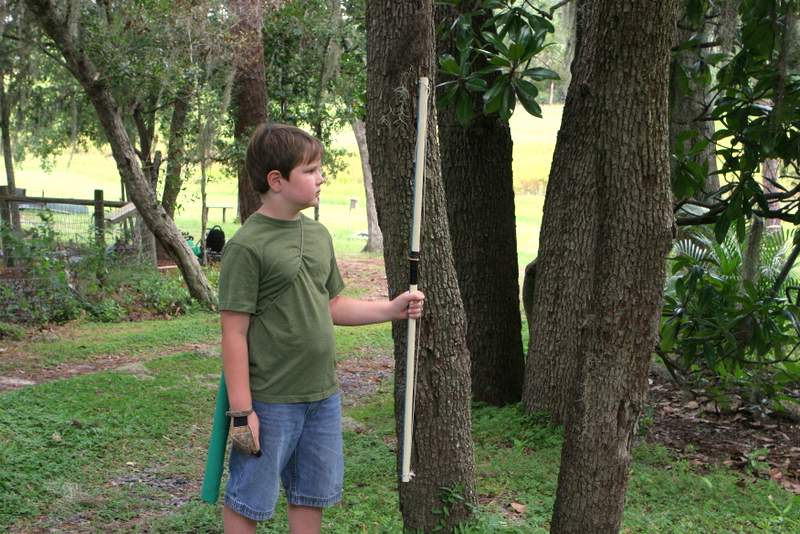
Bow
Take the 3-foot long piece of PVC and notch each end as shown in the photo. At each notch tie a knot with the end of your marine twine. Pull the twine tight between the two ends, but not enough to bend the PVC.
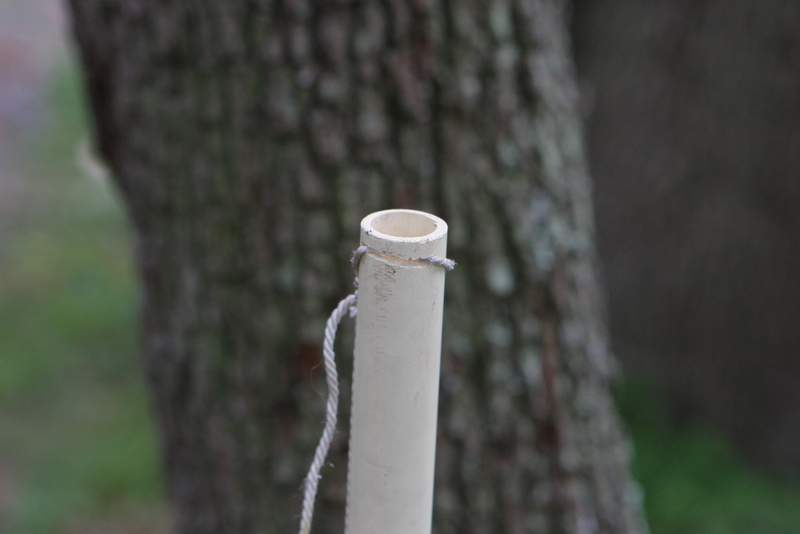
Next, Grant used duct tape in the middle of the bow to help him always know where the center was and line up his arrow.
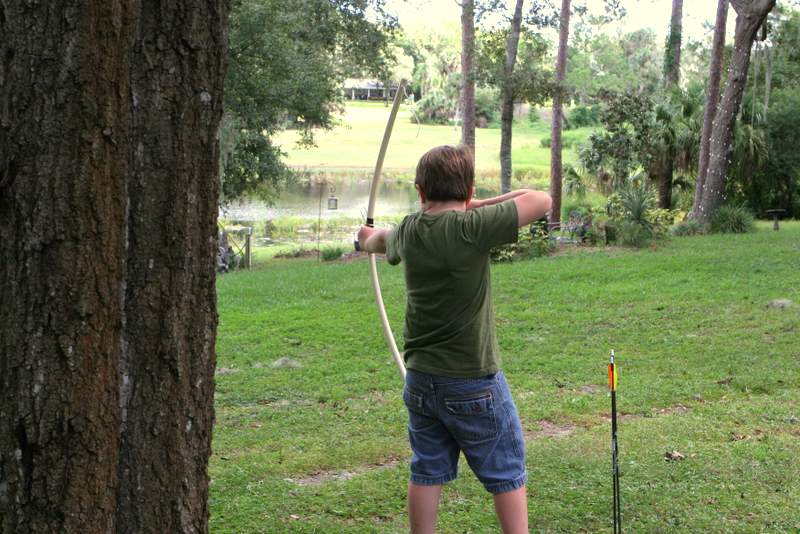
This project can be as simple as needed for the age of your children. Grant was seven when he made this bow and quiver. He filled it with his arrows, sticks, bouncy balls, rocks and anything else he felt like carrying around. He beamed with pride because he made it himself.
Giving children a project, like the bow and quiver, that teaches and stretches their ability will propel their belief in themselves to keep trying new things. Allowing them to create solutions for simple problems helps their critical thinking in real life. Grant needed a holder for the arrows that kept getting lost or stepped on and making his own quiver gave him a project along with a solution.
Gather up all your Robin Hoods and their arrows this week and give them materials to create their own bow and quiver.
